

How To Install Fuji Instax Film
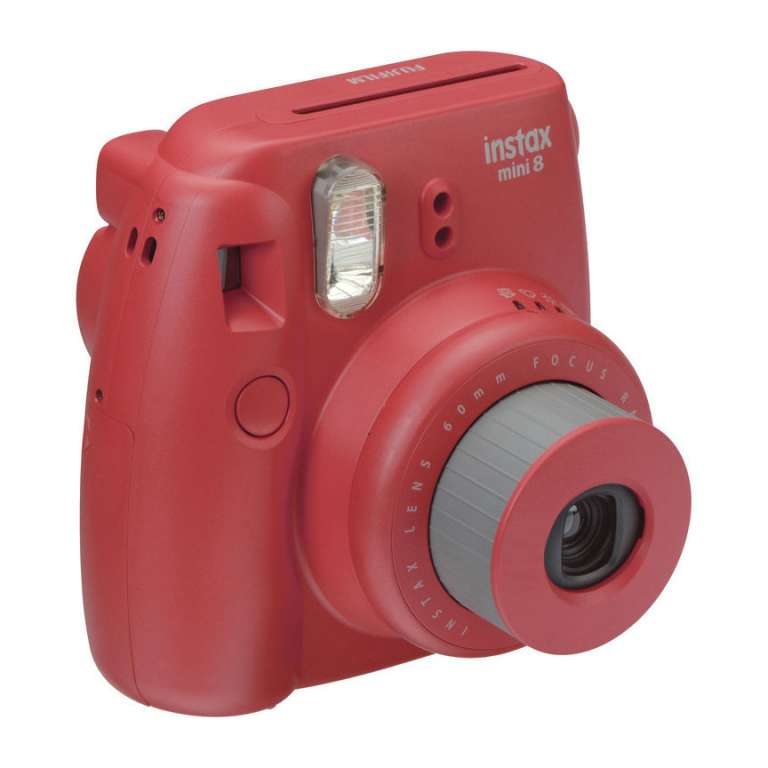
The Fujifilm Instax Mini eight and information technology'due south relatives, the Instax Mini 9 and Instax Mini eleven, are without a doubt, one of the well-nigh stylish and user-friendly instant cameras, besides known every bit a polaroid photographic camera, on the marketplace today. For that reason they've become an extremely popular pick for instant photographic camera newbies. If you've but bought your first Fujifilm Instax Mini this article will tell you lot everything you demand to know to help you get started.
Before you can savor the instant gratification that comes with seeing your newly taken photo pop out of your polaroid photographic camera, you'll need to learn how to properly operate and shoot with your new Instax, whether information technology is the 8 or 9.
Here are the steps you need to take:
- Insert the batteries.
- Load the flick pack.
- Press the power button beside the lens to turn the photographic camera on.
- Press the shutter to eject the picture cover.
- Indicate the lens at the eye of your subject field to decide the brightness.
- Turn the dial to the camera's called setting (the corresponding lamp will calorie-free up).
- Press the shutter to have the photo.
- Wait for the film to eject itself, then carefully remove from the film slot.
- Place the film on a flat surface and wait for it to develop. Do not milkshake the film.
How to Insert Batteries into Your Fujifilm Instax Mini eight and nine
- Locate the bombardment compartment of your Instax camera.
- Slide the bombardment cover downward to open.
- Insert two alkaline AA batteries.
- Supercede the battery cover.
Step-by-step Diagram Showing How to Insert Batteries:
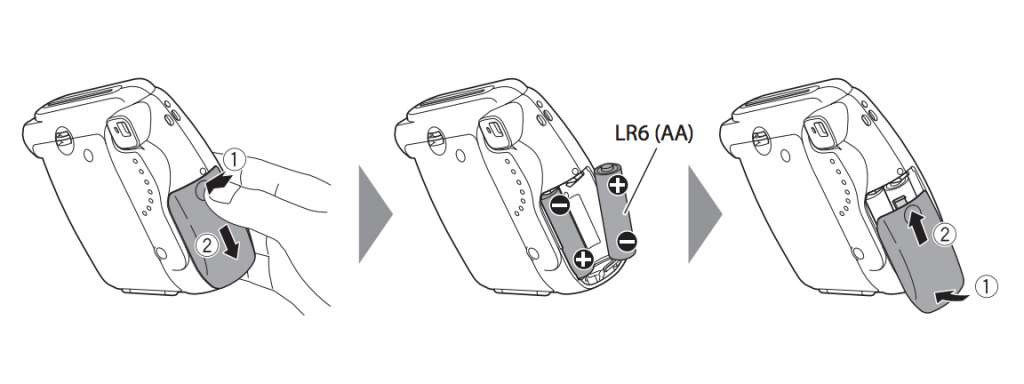
Photograph via Fujifilm Instax Mini viii Possessor'south Manual
Important Notes:
- Practice not use non-alkaline batteries.
- Cold batteries may affect your camera's performance; lightly warm up the batteries with your hands (or something similar) earlier inserting them into your camera.
- Replace the batteries when the red lamp on the viewfinder lights upward or when the lamps do not glimmer or light up even when the photographic camera is on.
- Fresh batteries can take approximately 100 pictures.
How to Load a Film Pack into Your Fujifilm Instax Mini 8
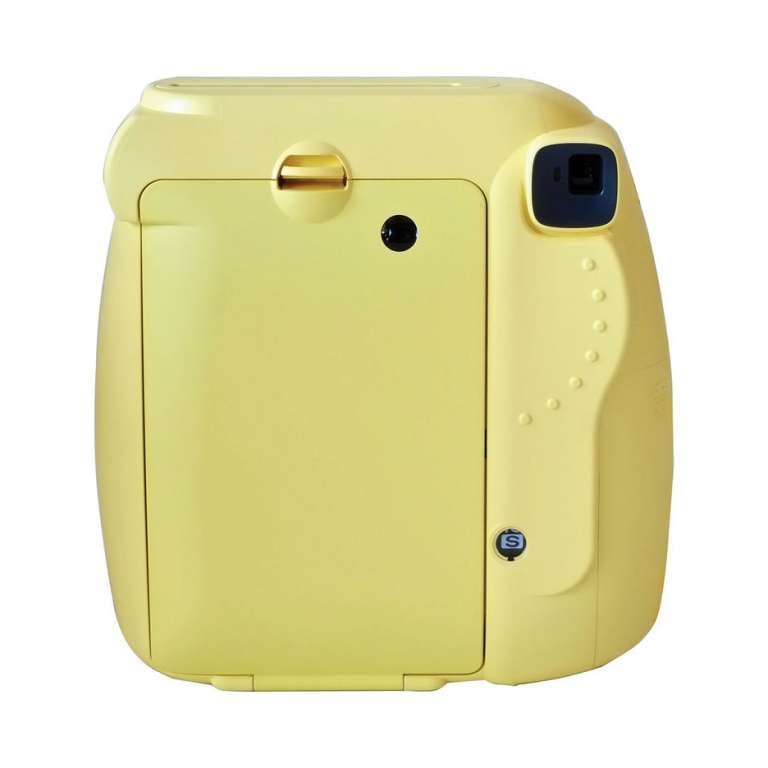
- Locate the picture embrace on the back of your Instax camera.
- Press the acme latch to open up the film compartment.
- Place your Fujifilm Instax Mini film cartridge (make sure the yellow dots on your camera and on the film cartridge are aligned) inside the camera.
- Supersede the film cover.
- Turn the camera on and press the shutter push to eject the film cover (exposure counter volition alter from "Due south" to "ten") from the camera.
How to Load Moving-picture show Pack into Your FujiFilm Instax Mini 9
Loading movie into the FujiFilm Instax Mini 9 follows the same process as the Instax Mini 8. Follow the in a higher place directions to chop-chop and easily load film into your new camera.
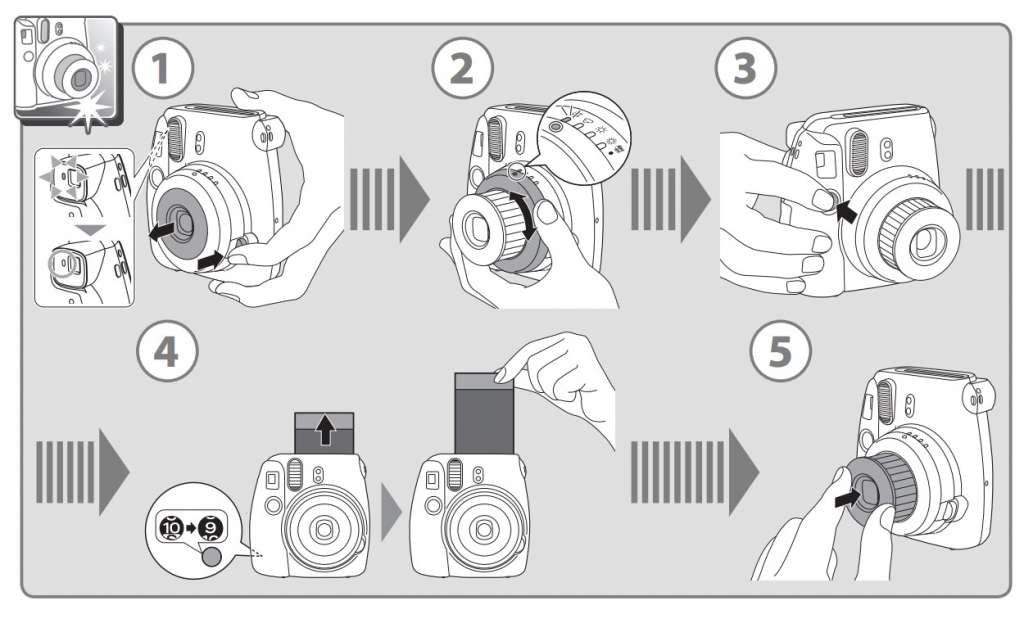
Footstep-by-step Diagram Showing How to Load the Film Pack:

Photograph via Fujifilm Instax Mini 8 Owner's Manual
Important Notes:
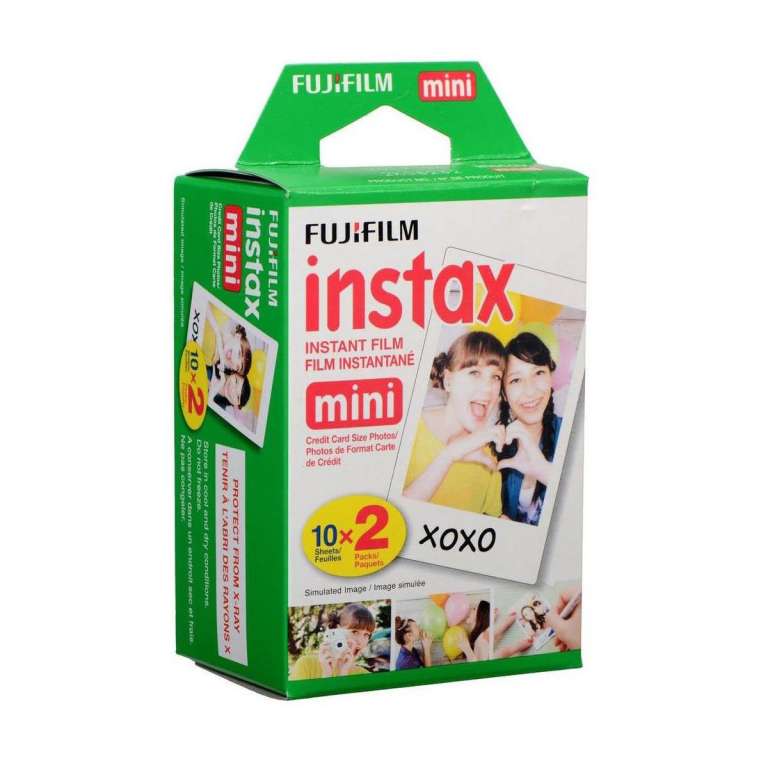
- Ever use Fujifilm Instax Mini instant film.
- Make sure that your batteries are installed before loading the film pack.
- Straight sunlight tin impairment your moving-picture show; avoid exposure to direct sunlight when loading an Instax Mini instant motion-picture show cartridge into your camera.
- Replace the film embrace immediately to minimize the moving picture's exposure to outside elements.
How to Use a Polaroid Camera Similar the Instax Mini
- Press the power button abreast the lens to turn the camera on.
- Wait for the retractable lens to pop out.
- Point the lens at your subject to decide the correct brightness setting.
- Turn the punch on the lens until the dot aligns with the lamp that corresponds to the suggested setting (the photographic camera will choose the all-time setting for you).
- Press the shutter button to take a photo.
- Expect for the picture to eject itself from the camera's picture slot.
- Remove the ejected film (merely concur it by the edges) from the camera.
- Look for your photograph to develop.
 Photograph via Fujifilm Instax Mini 8 Owner's Manual
Important Notes:
- The camera automatically determines the best setting for your chosen subject or electric current lighting state of affairs.
- Do not cover the two windows located abreast the wink, as doing so volition prevent your camera from assessing the surrounding light and suggesting the correct setting for your photo.
- Cull the "Howdy-Key" setting for a softer, brighter look.
- Check the exposure counter on the back of the camera to check how many shots y'all have left.
- The camera will become into energy saving way after about five minutes of inactivity (all lamps will be turned off); to restore, turn your camera off, then plow it dorsum on. Or you can also press the shutter push
- Do not open flick cover until the exposure counter reads "0."
How to Use the Instax Mini Self Timer?
When you lot desire to take a cocky portrait, Instax Mini's self-portrait timer is a not bad feature. Hither'south how to get started taking instant selfies:
- Mount your camera on a tripod or make sure it's balanced on a flat surface.
- Locate the cocky-timer push on the dorsum of the camera. It looks similar a clock dial with ane hand and is located next to the Style push.
- Press the push in one case to begin a 10-second countdown for the shutter. The LCD window will brandish the countdown, so you'll know the self-timer has started.
- Get in position for your shot.
If you lot want to take two selfies, printing the cocky-timer button twice. You'll see a small number 2 announced adjacent to the cocky timer icon in the LCD window, and the countdown will begin. The showtime shot will fire after seven seconds and the second shot will burn down 3 seconds later.
Tips for Taking Great Pictures with Your Fujifilm Instax Mini Camera
Now that you know how to have photos with your Instax photographic camera, here are some helpful tips to ensure that yous get consistently bang-up photos with every unmarried click!
Find adept lighting.
The Instax Mini 8 will automatically cull the right setting for any given lighting situation, and it too has a built-in flash to assist illuminate the discipline or scene you lot're trying to photograph. Nonetheless, it is best to accept photos in areas with sufficient lighting to ensure that your photos don't come up out underexposed.
Don't stand also close or too far from your subject.
For best results, recall to maintain a expert working altitude from your subject—about 2 to 9ft. Your photographic camera's built-in flash has an effective range of effectually 0.6m (one.97ft) to 2.7m (8.86ft), so stay within this range to ensure that your photos are properly focused and correctly exposed.
Play around with the suggested brightness setting.
If y'all're a newbie, then by all means, follow the camera'due south suggested setting. But in certain situations, you can choose to prepare the brightness yourself if you want a brighter or darker result.
But first, you need to know almost your camera'south different brightness settings. The effulgence of the picture show depends on how wide the camera'south discontinuity opening is. If you aren't also familiar with photography and how an aperture works, hither'southward a adequately simple explanation—the larger the opening, the more lite it can let in.
Likewise, keep in listen that aperture is measured by f-numbers. The smaller the number, the larger the opening.
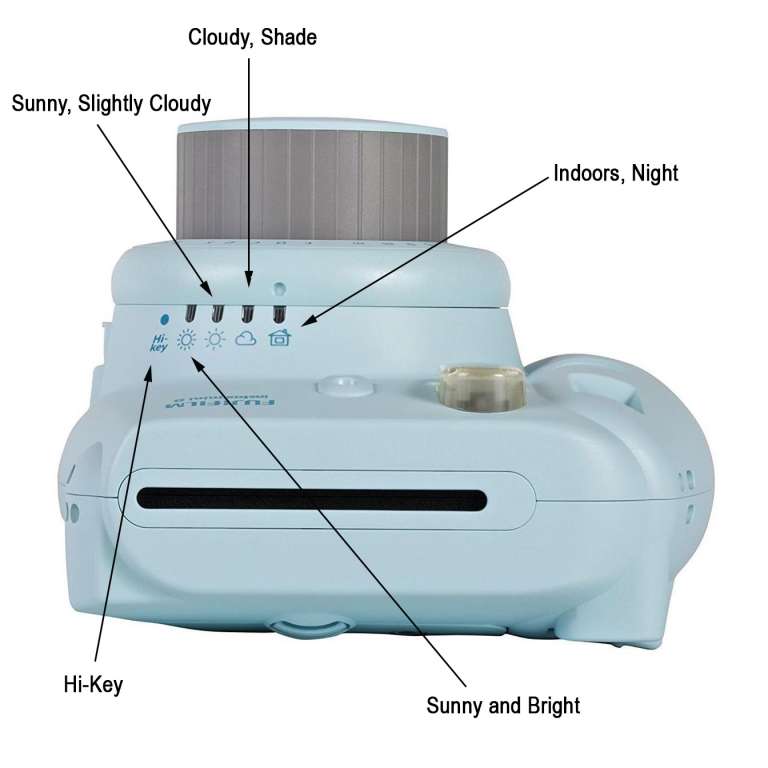
- Hi-Key – brightest setting; makes your photograph softer and brighter
- Indoors, Night – 2nd brightest setting; aperture of f/12.7
- Cloudy, Shade – third brightest setting; aperture of f/16
- Sunny, Slightly Cloudy – 4th brightest setting; aperture of f/22
- Sunny and Vivid – fifth brightest setting; discontinuity of f/32
At present, let's say you're shooting outdoors, and the sun is extremely brilliant. The camera volition suggest the everyman brightness setting, which is represented by the brilliant sun icon. But if y'all want a much brighter photo, ignore the suggested setting and "fox" your photographic camera into letting in more light (thus brightening your photo even farther) past choosing the sun icon or the deject icon.
Conversely, if the camera suggests the cloudy setting, but you desire your photo to come out darker and more underexposed, then choose the sun icon for a dramatic effect.
Experiment!
The Fujifilm Instax Mini eight is i of the best instant cameras around , but information technology's essentially a point and shoot. Therefore, you lot won't have much control over anything. You tin control only ii things when taking photos with this camera: the exposure (to an extent) and your photograph's composition.
If y'all want better pictures, the best affair you can do is experiment with dissimilar compositions. Endeavour shooting from different angles or vantage points. Take photos of unusual subjects.
In other words, get artistic!
Cover photograph:Photo by Kārlis Dambrāns / CC By 2.0


Source: https://www.adorama.com/alc/how-to-use-the-fujifilm-instax-8-everything-you-need-to-know/
Posted by: rivasyountwo.blogspot.com
0 Response to "How To Install Fuji Instax Film"
Post a Comment